Thursday, March 24, 2016

Lamb tagine with peas and preserved lemons

Today I thought I would make a dish from one of my favourite cookbooks, The Food of Morocco.
I decided to make a lamb tagine with peas and preserved lemons. It takes an hour and forty minutes to cook but only about ten minutes to prepare. I love dishes where you sit around for most of the time but they taste like you've slaved over them. These are the ingredients
This is the method
This is how my one turned out.

Saturday, March 19, 2016

Tomato and preserved lemon salad

This is delicious! Put tomatoes, diced red onion and the washed rind of a preserved lemon (sliced) into a bowl. For the dressing mix 3 tablespoons of olive oil, 1 tablespoon of lemon juice, pinch of pepper, half a teaspoon of salt and half a teaspoon of paprika. Pour over the salad, cover with cling film and set aside for half an hour. Before serving add chopped coriander and parsley and toss together.

Kibbeh

Today Brian suggested that I try making kibbeh. He's very helpful! It was so easy and so delicious. I put 2/3 of a cup of bulgur wheat (covered with water) into the microwave for two minutes.
I blended a cup of mint leaves and an onion into a paste.
I mixed this into the bulgur wheat. I added a teaspoon of cumin, a teaspoon of allspice, a teaspoon of salt and a half teaspoon of freshly ground black pepper.
I added this to minced lamb.
I shaped the mixture into croquette shapes.
I fried them at a high heat.
I served them with pitta bread, Greek yogurt and a tomato and preserved lemon salad.
Brian said that they tasted just like the kibbeh he has had in the Middle East so I am thrilled!

Tuesday, March 15, 2016

mytaste.co.uk

Easy, no knead sourdough

This requires a bit of timetabling but it is super easy. At approximately 4pm I take my sourdough starter out of the fridge, feed it and place it in a warm spot to bubble up. At 10pm I make my bread dough and leave it in the warm spot overnight. I then bake it first thing the next morning. These are the ingredients needed
I mix them together in a large bowl. I usually add a small bit more of the starter than what is stated in the recipe. It is really important to use strong bread flour. It really helps the bread to rise. I use this one
I cover the dough with cling film and leave it in a warm place overnight. In the morning it looks like this.
Line a cast iron pot with a lid with greaseproof paper.
Preheat your oven and cast iron pot to the hottest heat your oven will go to. PS. My pot isn't dirty. It got discoloured in the oven.Let it preheat for twenty minutes to half an hour. Take it out and put a little flour in the bottom of the pot. Pour the dough into the pot. It is a very wet dough. I usually use a spatula to get it all in.
Dust the top with flour. Put the lid on and bake at the highest heat for 30 minutes. Then remove the lid and drop the temperature to 200 degrees and bake for 15 minutes. Take it out and cool it on a wire rack.

Monday, March 14, 2016

How to make a sourdough starter

This takes five days. It requires patience but it is definitely worth it. There are two ingredients: flour and water. I always use rye flour as it has more naturally occurring bacteria which aids the fermentation process.
I mix half a cup of water with half a cup plus a tablespoon of rye flour.
I mix them well with a spatula and cover with cling film.
I leave it in a warm spot overnight (I leave it in front of the stove). That's it until tomorrow! DAY TWO. This is what it should look like.
Add the same quantities of rye flour and water as yesterday. Stir vigorously. You want to get oxegen in. Small bubbles may start to appear at this stage. If they don't there is no cause for alarm as if yet.
. DAY THREE. Your starter should look a bit like this:
There should be some bubbles. Stir in the same amount of flour and water vigorously. You should see some more bubbles appear. I could feel a change in the consistency of my starter today. DAY FOUR. Today I got a distinctly sour smell when I took off the cling film. There were also more bubbles.
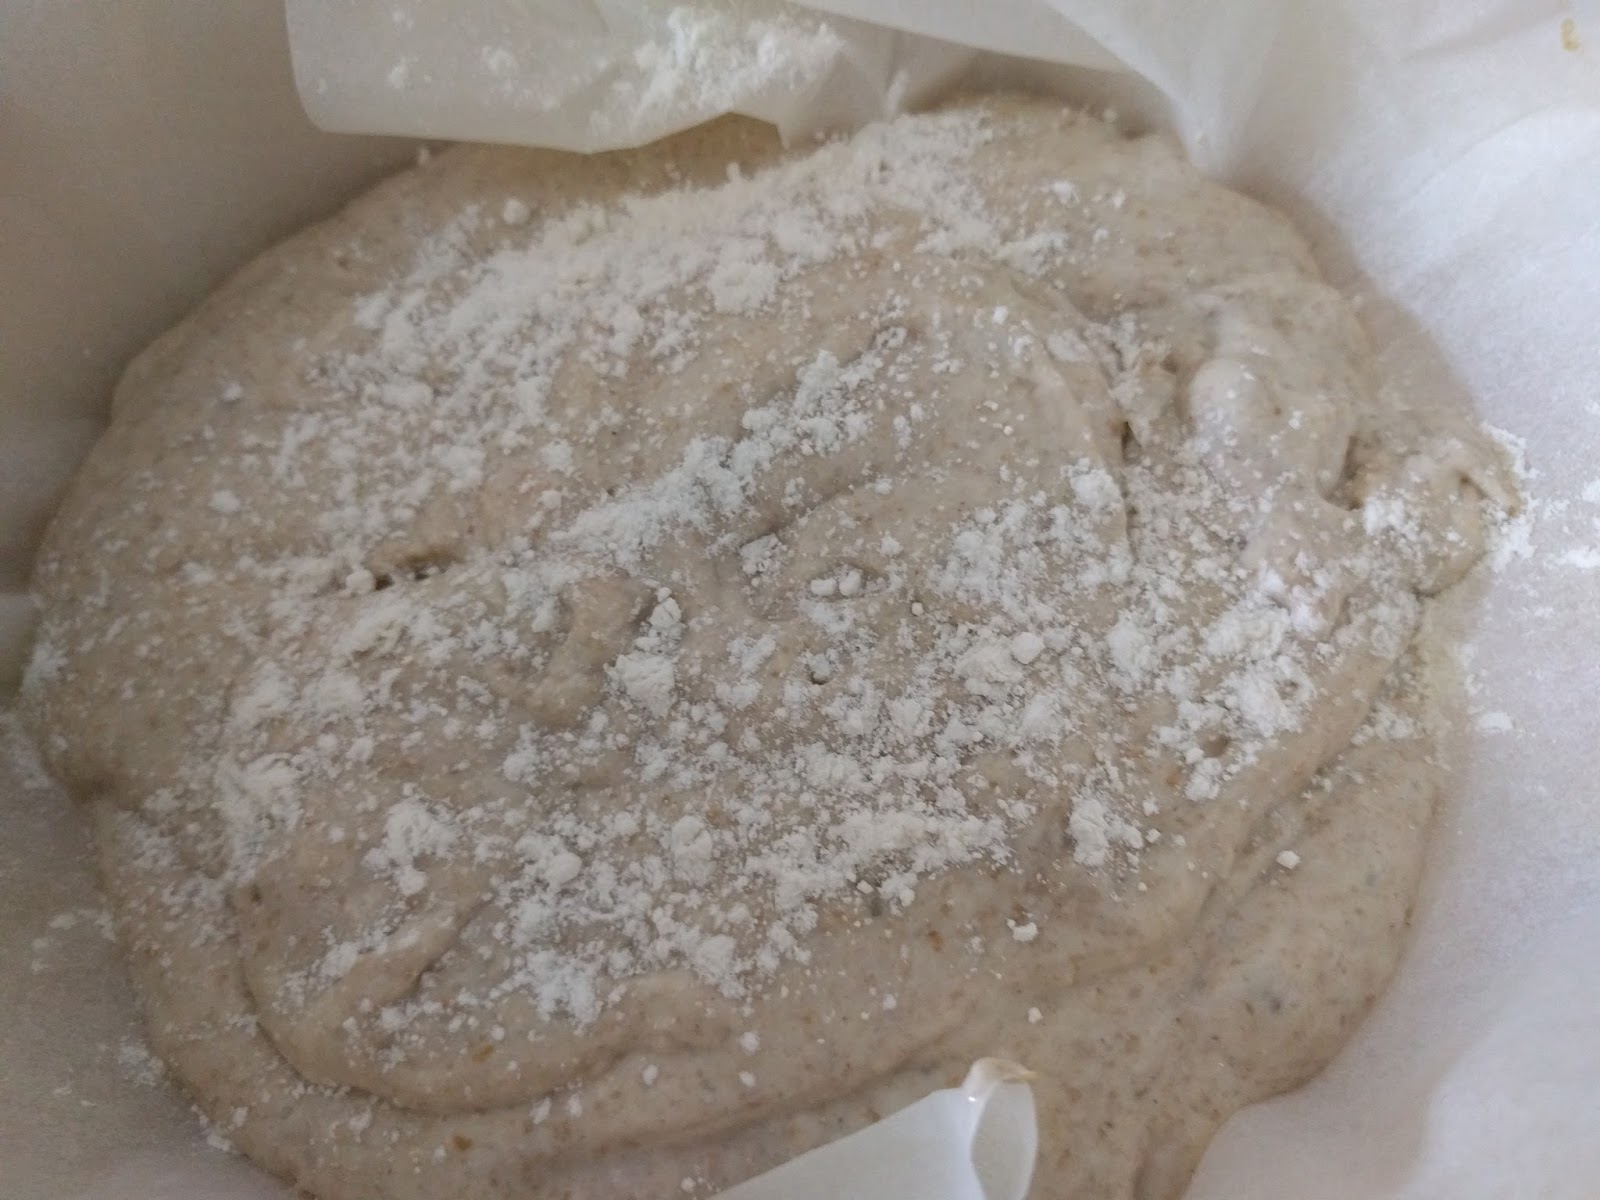
Stir in the same quantities of flour and water, cover and put in a warm place overnight. Your starter is probably getting quite big now so feel free to throw away some of it before feeding it. I am making a big starter as I intend to make a TON of bread next week. DAY FIVE. Today is the last day of preparing your starter! This is what mine looked like today.
Feed the starter with the same quantities of flour and water. Mine bubbled eagerly when I fed it today. Today my starter is not as frothy as a riper starter would be. However, you are ready to make bread tonight! Whoop whoop! After you make your bread store your starter in the fridge. Take it out once a week and feed it. Leave it at room temperature for a few hours and then return it to the fridge. It is dormant in the fridge. It is a very good idea to freeze some of your starter so you can restart it if anything happens to your original starter. I will definitely be doing that this time.

Thursday, March 10, 2016

Sourdough coming soon

I am in the process of making a new sourdough starter as disaster befell my previous one. It takes five days to make it so bear with me. I am doing a step by step guide to making a sourdough starter and will then post about making bread and a timeline for it. My life without sourdough is not the same.